In a world where digital interaction is increasingly predominant, QR codes have emerged as a compact and versatile tool for sharing information quickly and efficiently. In this guide, we will walk you through how to use a free QR code generator to create QR codes that are not only functional but also uniquely yours.
Benefits of DIY QR Code for Personal Use
First of all, let's explore the specific applications and advantages of customizing your QR codes.
1. Share your contact details: Easily share your phone number, email address, social media profiles, and more with a single QR code. No need to fumble with business cards or lengthy URLs.
2. Link to a personal project: Showcase your portfolio, blog, or other online projects by linking to them with a QR code. Make it easy for potential clients, employers, or collaborators to find your work.
3. Customize your social media links: Consolidate all your social media profiles into a single QR code. Let people follow you on all your favorite platforms with just a scan.
4. Share your Wi-Fi network: Quickly share your Wi-Fi network password with guests or friends by generating a QR code. No more typing in complex passwords or dictating them to visitors.
5. Display your digital business card: Create a virtual business card with your contact information, logo, and company details. Share it with potential clients or partners using a QR code.
6. Link to your online store: Promote your online store or Etsy shop by linking to it with a QR code. Make it easy for customers to browse and purchase your products.
Whether you're looking to share your contact details, link to a personal project, or even customize your social media links, creating a personalized QR code is a great way to add a professional touch to your digital interactions.
How to DIY QR Code for Personal Use
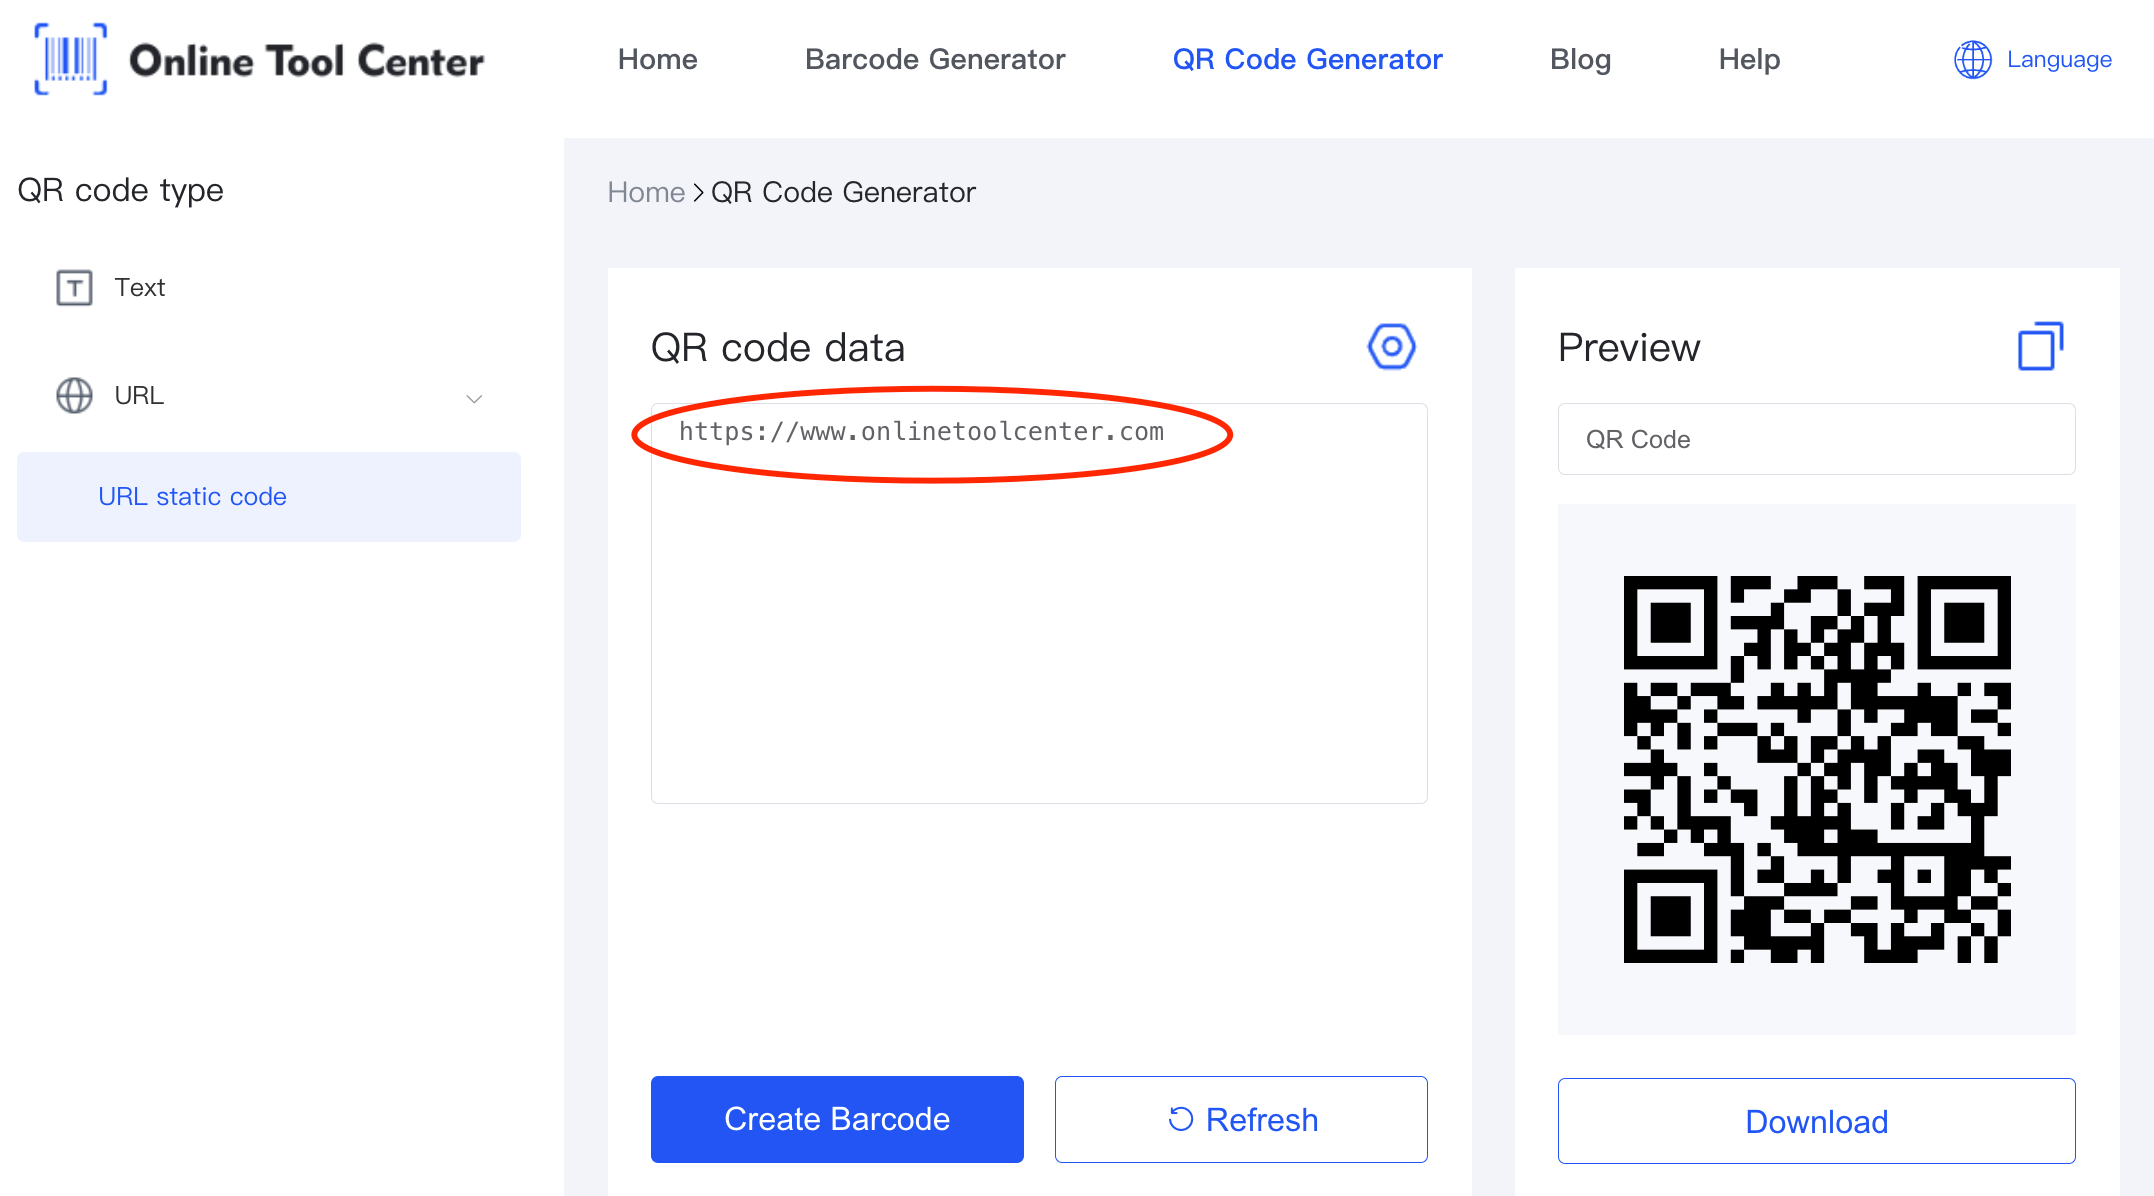
1. Choose the Right QR Code Generator
There are numerous free QR code generators available online that allow you to create personalized QR codes easily. Look for a QR code generator that offers customization options such as color changes, logo additions, and choice of patterns.
2. Define Your Data
What do you want your QR code to do? Link to a website, display a message, show your WiFi password, or maybe direct people to your social media page? Decide the purpose of your QR code as this will guide the data you input into the QR code generator.

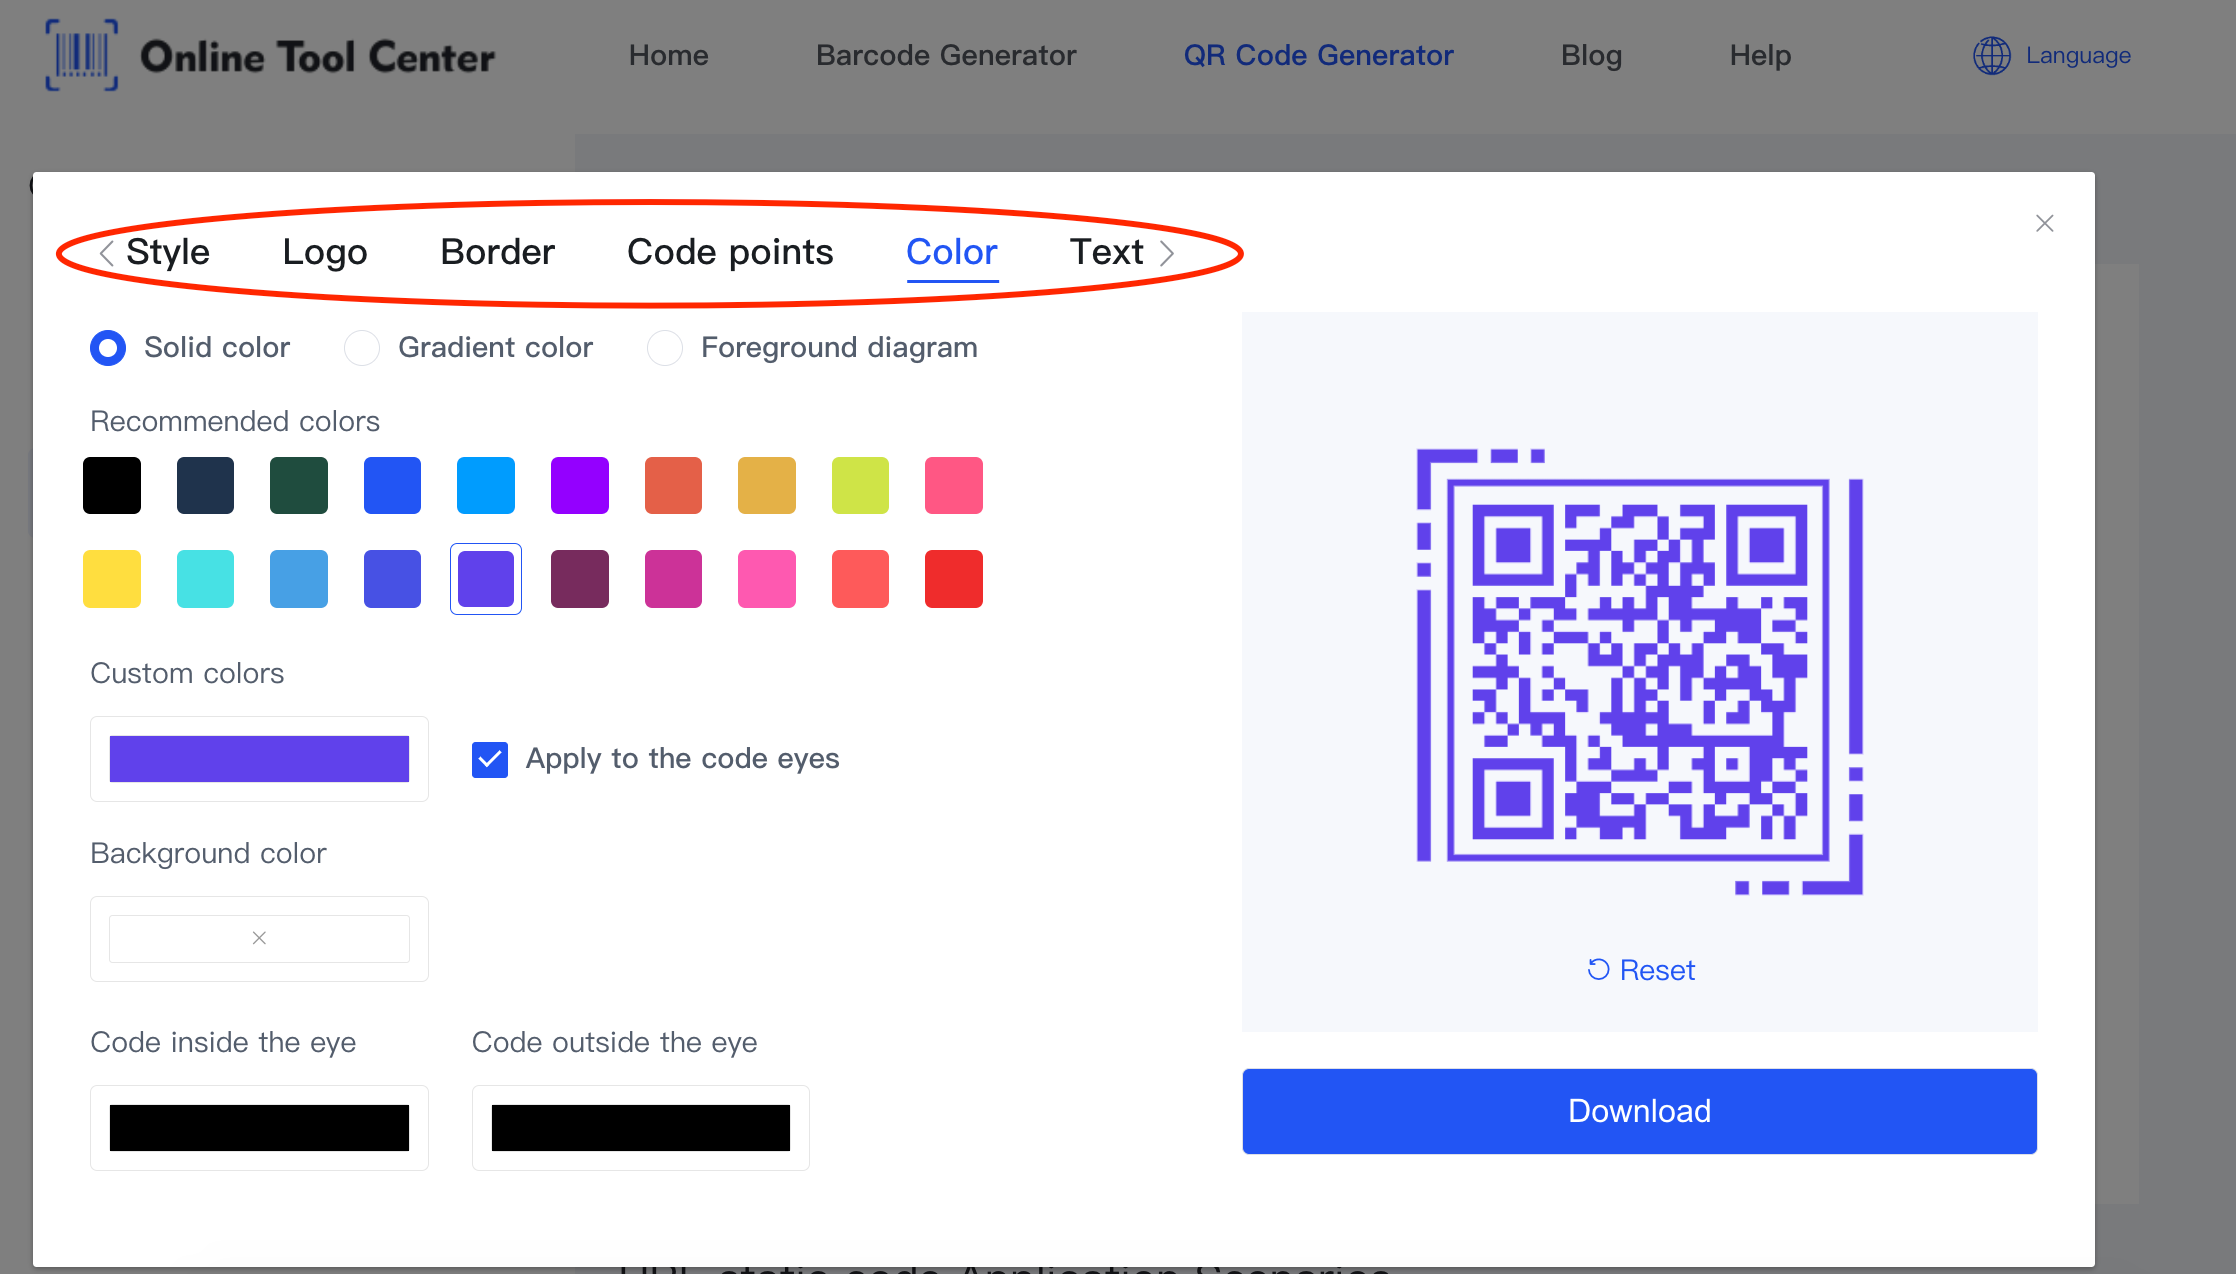
3. Customizing Your QR Code
This is where it gets fun! Using a DIY QR code maker, you can start to play around with various styles.


Add colors that match your personal brand or event theme. You can even add your own logo or a picture in the center. Custom QR code design helps make your QR code stand out and get noticed.
4. Test Your QR Code
Before using your QR code, test it with multiple smartphones to ensure it works correctly.
This is crucial especially if you've added a lot of customization. Testing ensures that the QR code scans correctly and leads to the right function or information.
5. Deploy Your QR Code
Now that your QR code is created and tested, it’s time to use it. You can print it on your business cards, flyers for personal events, or add it to your personal blog or social media profiles. Digital QR codes can be integrated into digital invitations or emails as well.
With the right QR code generator and a bit of creativity, your custom QR code can make your digital interactions more engaging and efficient. Ready to make your digital mark with a customized QR code? Start today and see just how simple and impactful this technology can be!


